The controllers of the original Game Boy’s generation are known for their simplistic button layout: a 4-way directional D-Pad and two simple buttons. However the introduction of the SNES broke with tradition and introduced a 4-button (A-B-X-Y) layout. The amount of buttons kept rising as the years gone by, introducing shoulder buttons, back buttons and control sticks.
Since the plan of our Game Boy Zero is to play many different types of games from all kinds of oldschool gaming consoles, we’re bound to find some games requiring a button layout the original Game Boy cannot offer. Therefore we will be adding four additional buttons:
- X and Y button at the front to transform our 2-button layout into a 4-button one
- RB and LB buttons in the back to support more modern type of games.
Rear: R & L Buttons
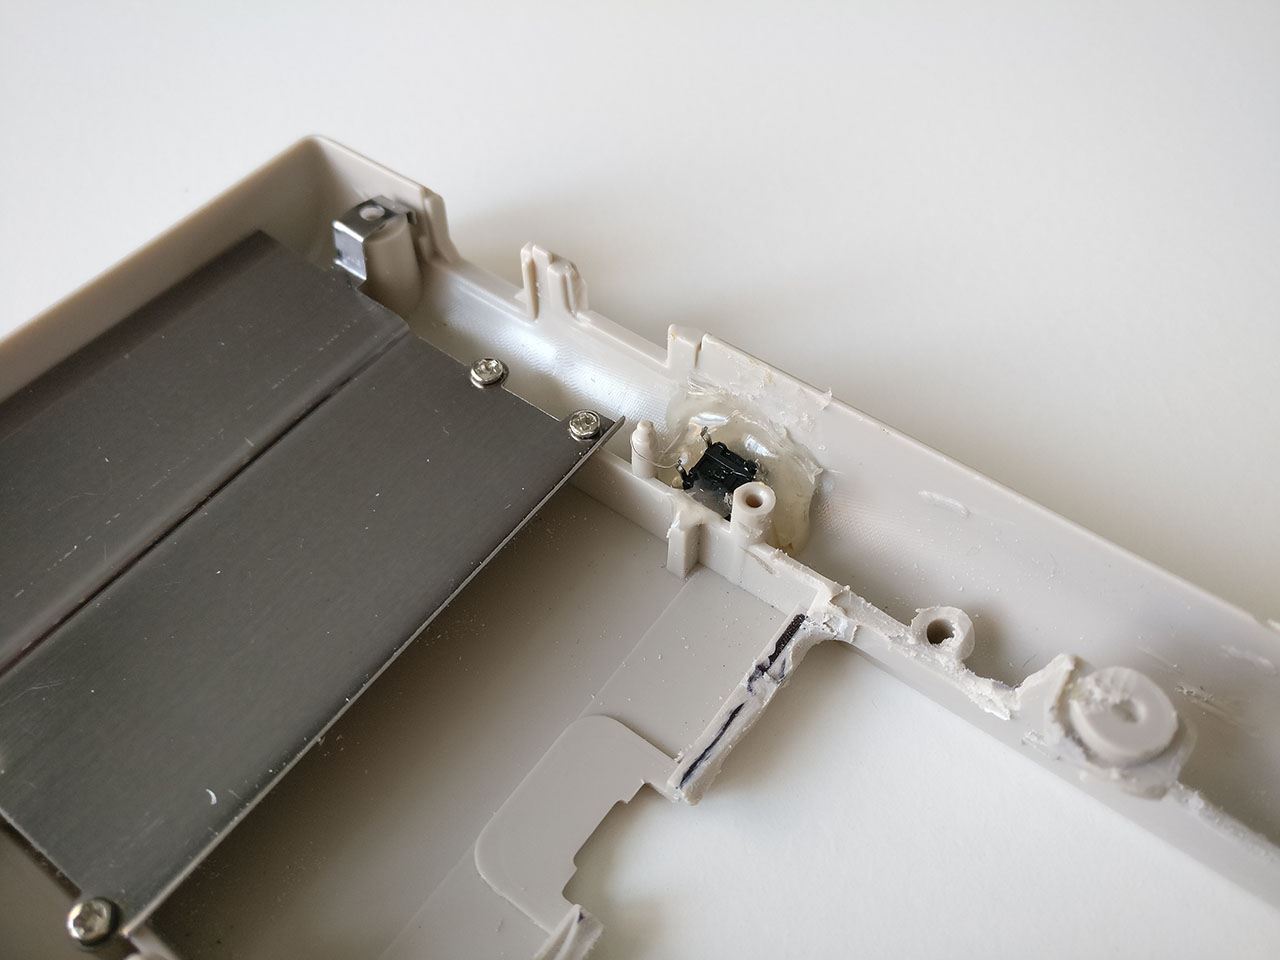
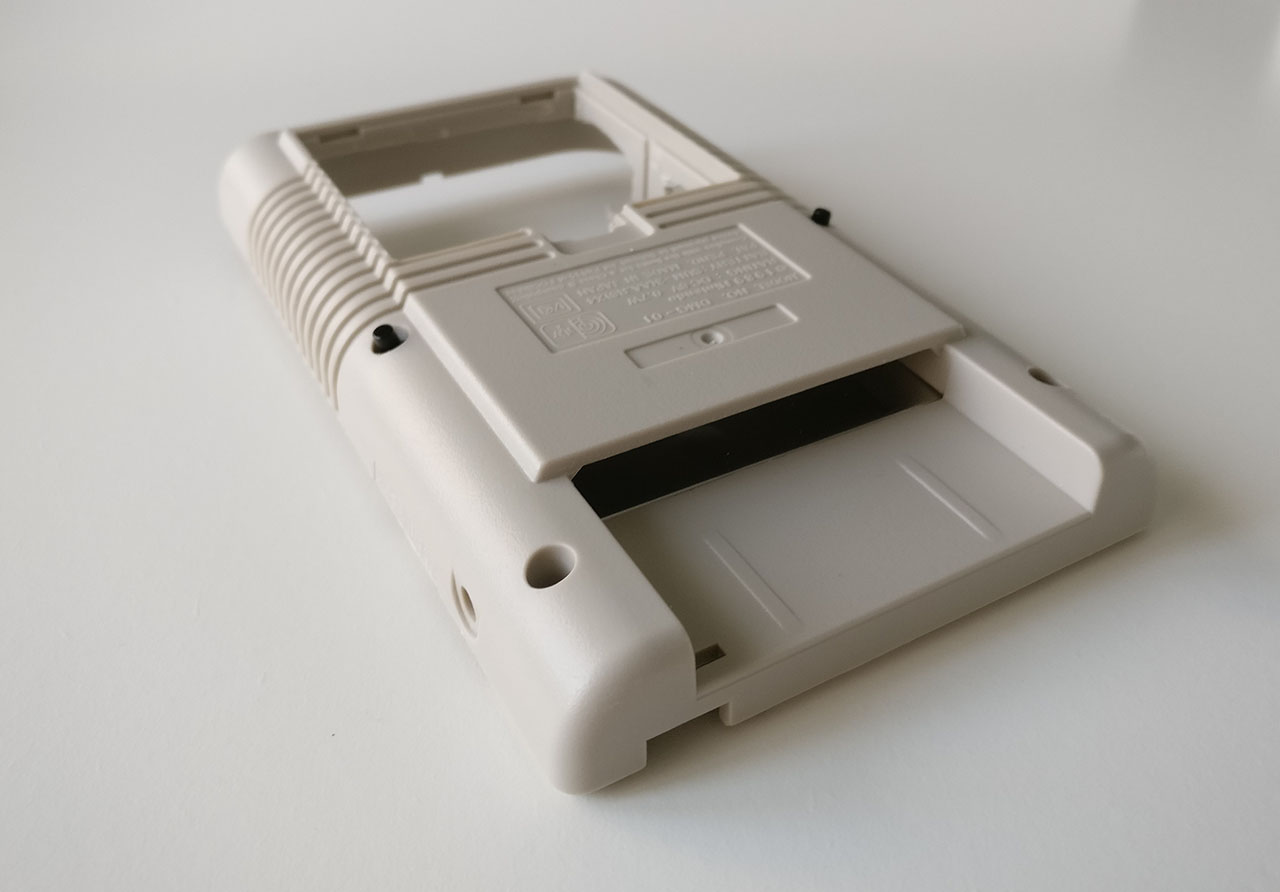
At the back of the enclosure, I have used two screw holes to mount tactile push buttons through which will serve as my right and left rear buttons. These screws were hidden about 10mm below the surface of the enclosure, so I had to grind down those screw shafts in order for the buttons to peep through.

Tactile buttons glued in place
These are 9mm tactile push buttons which are glued in place. They peep out just the right enough amount to allow for easy pressing, but not hinder when holding it in your hand.

The rear buttons are quite unobtrusive.
Front: X & Y Buttons
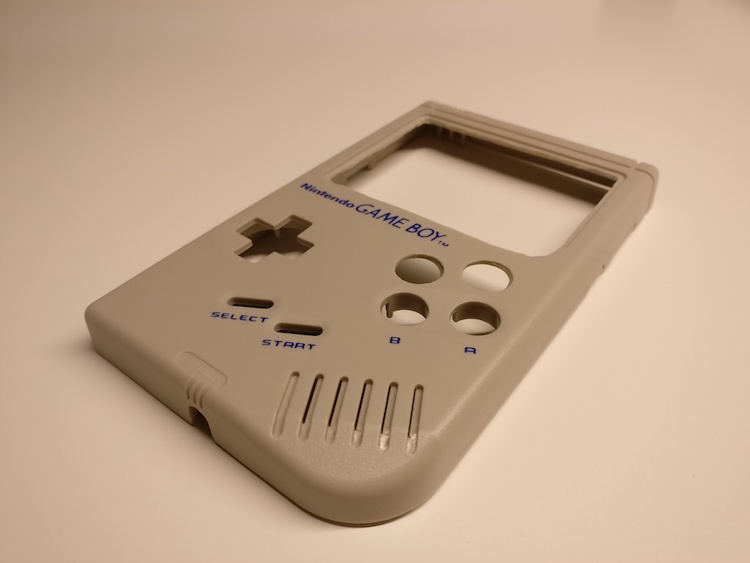
The emulation software also supports SNES games, which are played with a 4 button layout (A, B, X and Y). In order to support these type of games we will add a couple of extra holes, right above the A and B buttons.
This meant ordering another set of buttons; luckily my favourite Chinese web shop had some in stock.

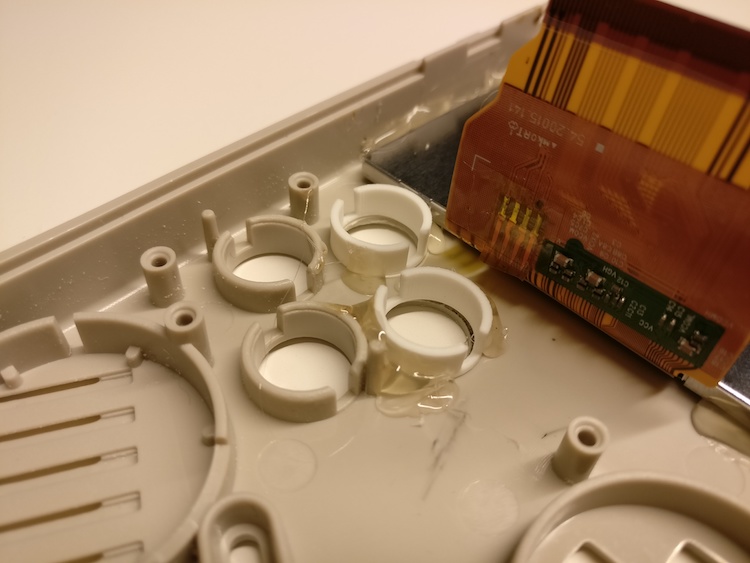
Two additional button holes.
The original buttons are placed in so-called ‘wells’ which keep them aligned with the touch pad below. I 3D printed and glued my own wells in order to make sure the buttons have the same feeling and quality as the original two buttons.


